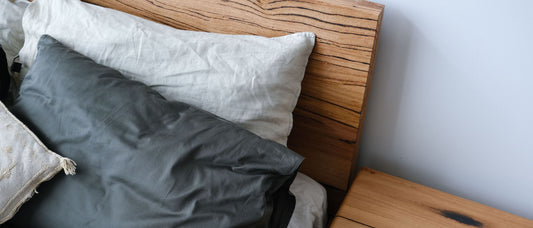
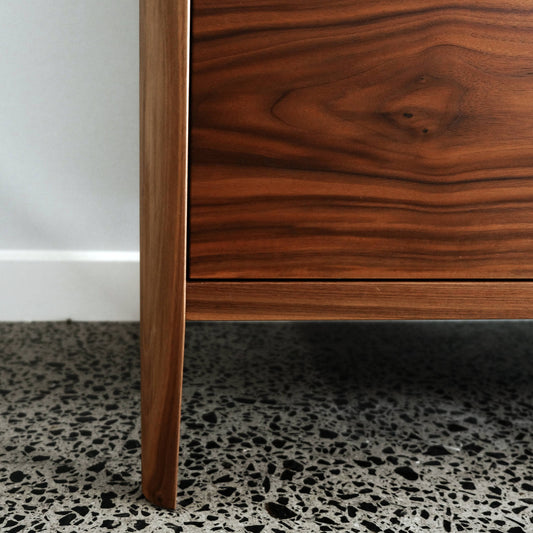


There's something special about solid timber furniture - each piece tells a story through its grain patterns, color variations, and yes, even its scratches and scuffs. But while those minor imperfections might add character, sometimes we want to restore our beloved pieces to their former glory. The good news? You don't need to be a master craftsman to achieve professional-looking results.
Understanding Environmental Damage vs. Normal Wear
Before we dive into repairs, it's important to understand what causes different types of timber damage:
Normal wear and tear
Includes everyday scratches, scuffs, and minor marks from furniture use. These are cosmetic issues that don't affect the structural integrity and can be easily repaired using the methods below.
Environmental damage
Occurs when timber is exposed to extreme conditions—particularly before, during and after installation. This could include:
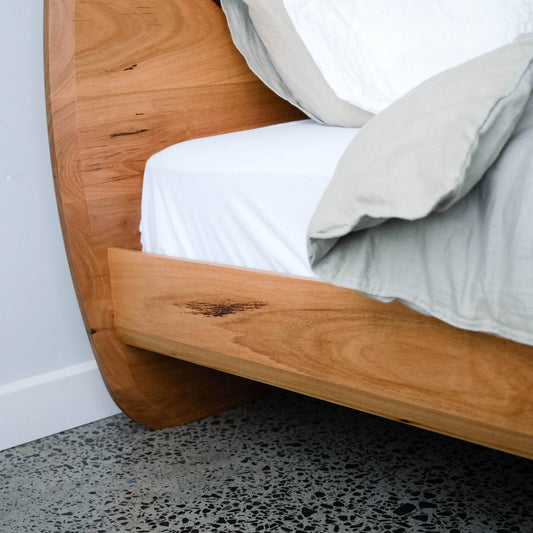
- Cracking or splitting from extreme heat and low humidity (common in Australian summers, especially in uninsulated garages)
- Warping from excessive moisture or humidity fluctuations
- Finish breakdown from direct sun exposure over time
Assessing the damage
Before diving in, take a close look at your furniture. For minor cosmetic damage - those everyday scratches, scuffs, and wear patterns that naturally develop over time - you'll be pleased to know that you can achieve excellent results without investing in expensive power tools.
The restoration process
Step 1: Surface preparation
The key to a professional finish lies in proper preparation. When working with minor damage, you have two approaches:
Manual sanding method:
- Using just sandpaper and some elbow grease can yield fantastic results
- Always sand in the direction of the wood grain
- Start with 120-grit sandpaper to remove damage and old finish
- Progress to 180-grit for a smoother surface
- Take your time - rushing this step will show in the final result
Power tool method:
- An orbital sander can speed up the process significantly
- Follow the same grit progression: 120, then 180
- Keep the sander moving to avoid creating dips or uneven spots
- Pay special attention to edges and corners
Step 2: Refinishing
Once you've achieved a smooth, even surface, it's time to apply the new finish. A great product to use will be Fiddes Hard Wax Oil (matt sheen) and a 250ml sample pot will be sufficient:
Application process:
- Choose a dust-free environment with good ventilation
- Use a microfibre roller for the most even application
- Apply the first coat thinly and evenly
- Allow 24 hours drying time
- Apply the second coat using the same technique
- After the second coat has dried completely, sand very lightly with 1500-grit sandpaper for a silky-smooth finish
Pro tips:
- Work in good lighting to ensure you haven't missed any spots
- Keep the room dust-free during drying periods
- The final light sanding with 1500-grit paper is what gives that professional-quality finish
The final touch
After completing all steps, give your piece a gentle wipe with a clean, lint-free cloth to remove any sanding dust. The result should be a smooth, durable finish that enhances the natural beauty of your timber while providing excellent protection against future wear.
Remember, patience is your best friend when refinishing furniture. Each step builds on the previous one, and rushing any part of the process can compromise your final results. Take your time, and you'll be rewarded with a piece that looks like it came fresh out of our factory.
--
Need help?
Previous
Timber Bed Frames: Locally Crafted, Built for Life
Next
Collaborating with Designers and Builders: How Retrograde Furniture Supports Trade Projects