

Congratulations on receiving your new floating bed! Assembly is straightforward and typically takes 30-45 minutes with two people.
What You'll Need
- 2 people - recommended for safety and ease
- 5mm allen key
Parts Checklist
Before starting, confirm you have all components:
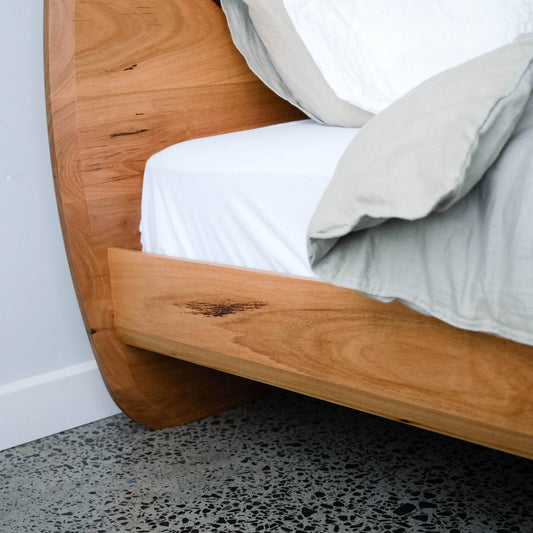
Sled base
Headboard
Base board
Rails (2 pieces)
Pack of slats
Hardware pack with bolts
Missing parts? Contact us immediately before beginning assembly.
-
Assembly Instructions
Step 1: Position the Foundation
- Place the black sled base in position
- Lean the headboard against the wall for support
- Ensure the straight edge of the sled sits flush against the headboard

Step 2: Attach the Headboard
- Connect the brackets between the sled and headboard
- Start with one bolt on each side, tightening only finger-tight
- Install remaining bolts, tightening only finger-tight
- Once all bolts are positioned, tighten snugly with the allen key

Step 3: Attach the Baseboard
- Start with one bolt on each side, tightening only finger-tight
- Move on to the next step before fixing or tightening any bolts. This will give you wiggle room for adjustments as needed.

Step 4: Mount the Rails
- Tip: Use a stack of books (we've used a block of wood here!) or have a helper support each rail during installation
- Work on one rail at a time for better control
- Position all bolts before final tightening

Step 5: Final Setup
- Fix all remaining bolts and tighten with the allen key
- Once both rails are secure and all bolts properly tightened:
- Install the slats evenly across the rails
- Place your mattress on top

-
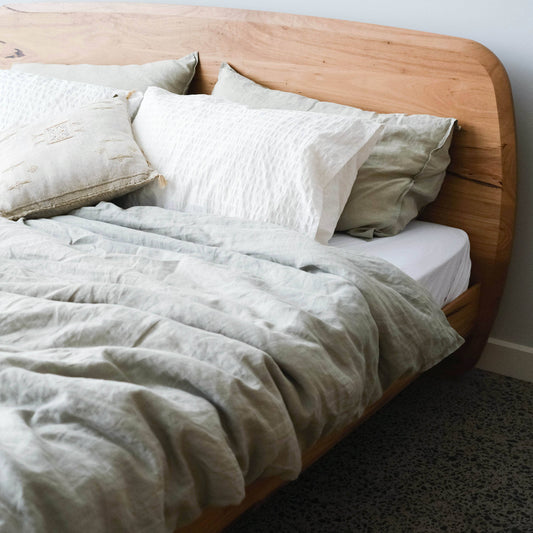
You're Done!
Your bed is now ready for use. Enjoy your first night's sleep!
Need Help?
Questions about assembly or missing parts? Get in touch. - we're here to help make your setup seamless.